Every educational program’s audio/video system needs are specific to their environment and learning objectives. Audiology programs are no exception, so here is a list of key questions that have helped clinical educators like yourself make informed decisions when investing in audio/video equipment for audiology testing spaces.
Concerned if you’re asking the right questions about installing audio/video equipment in your audiology booths? Start with these three questions:
What activity do I want to capture?
This question relates to how you want an audio/video system to support your program objectives. For example, do you plan to use it for Video Self Modeling? Live demonstrations? Assessments to drive student learning outcomes? It helps to identify the activity you want to capture first because it determines the type, quantity, and placement of equipment you will need to capture student activity and/or patient activity. For instance, if your objective is to evaluate student-patient interaction and capture both the student and the patient, then you will need a camera and microphone installed on each side of the wall dividing the student and the patient in the audiology booth.
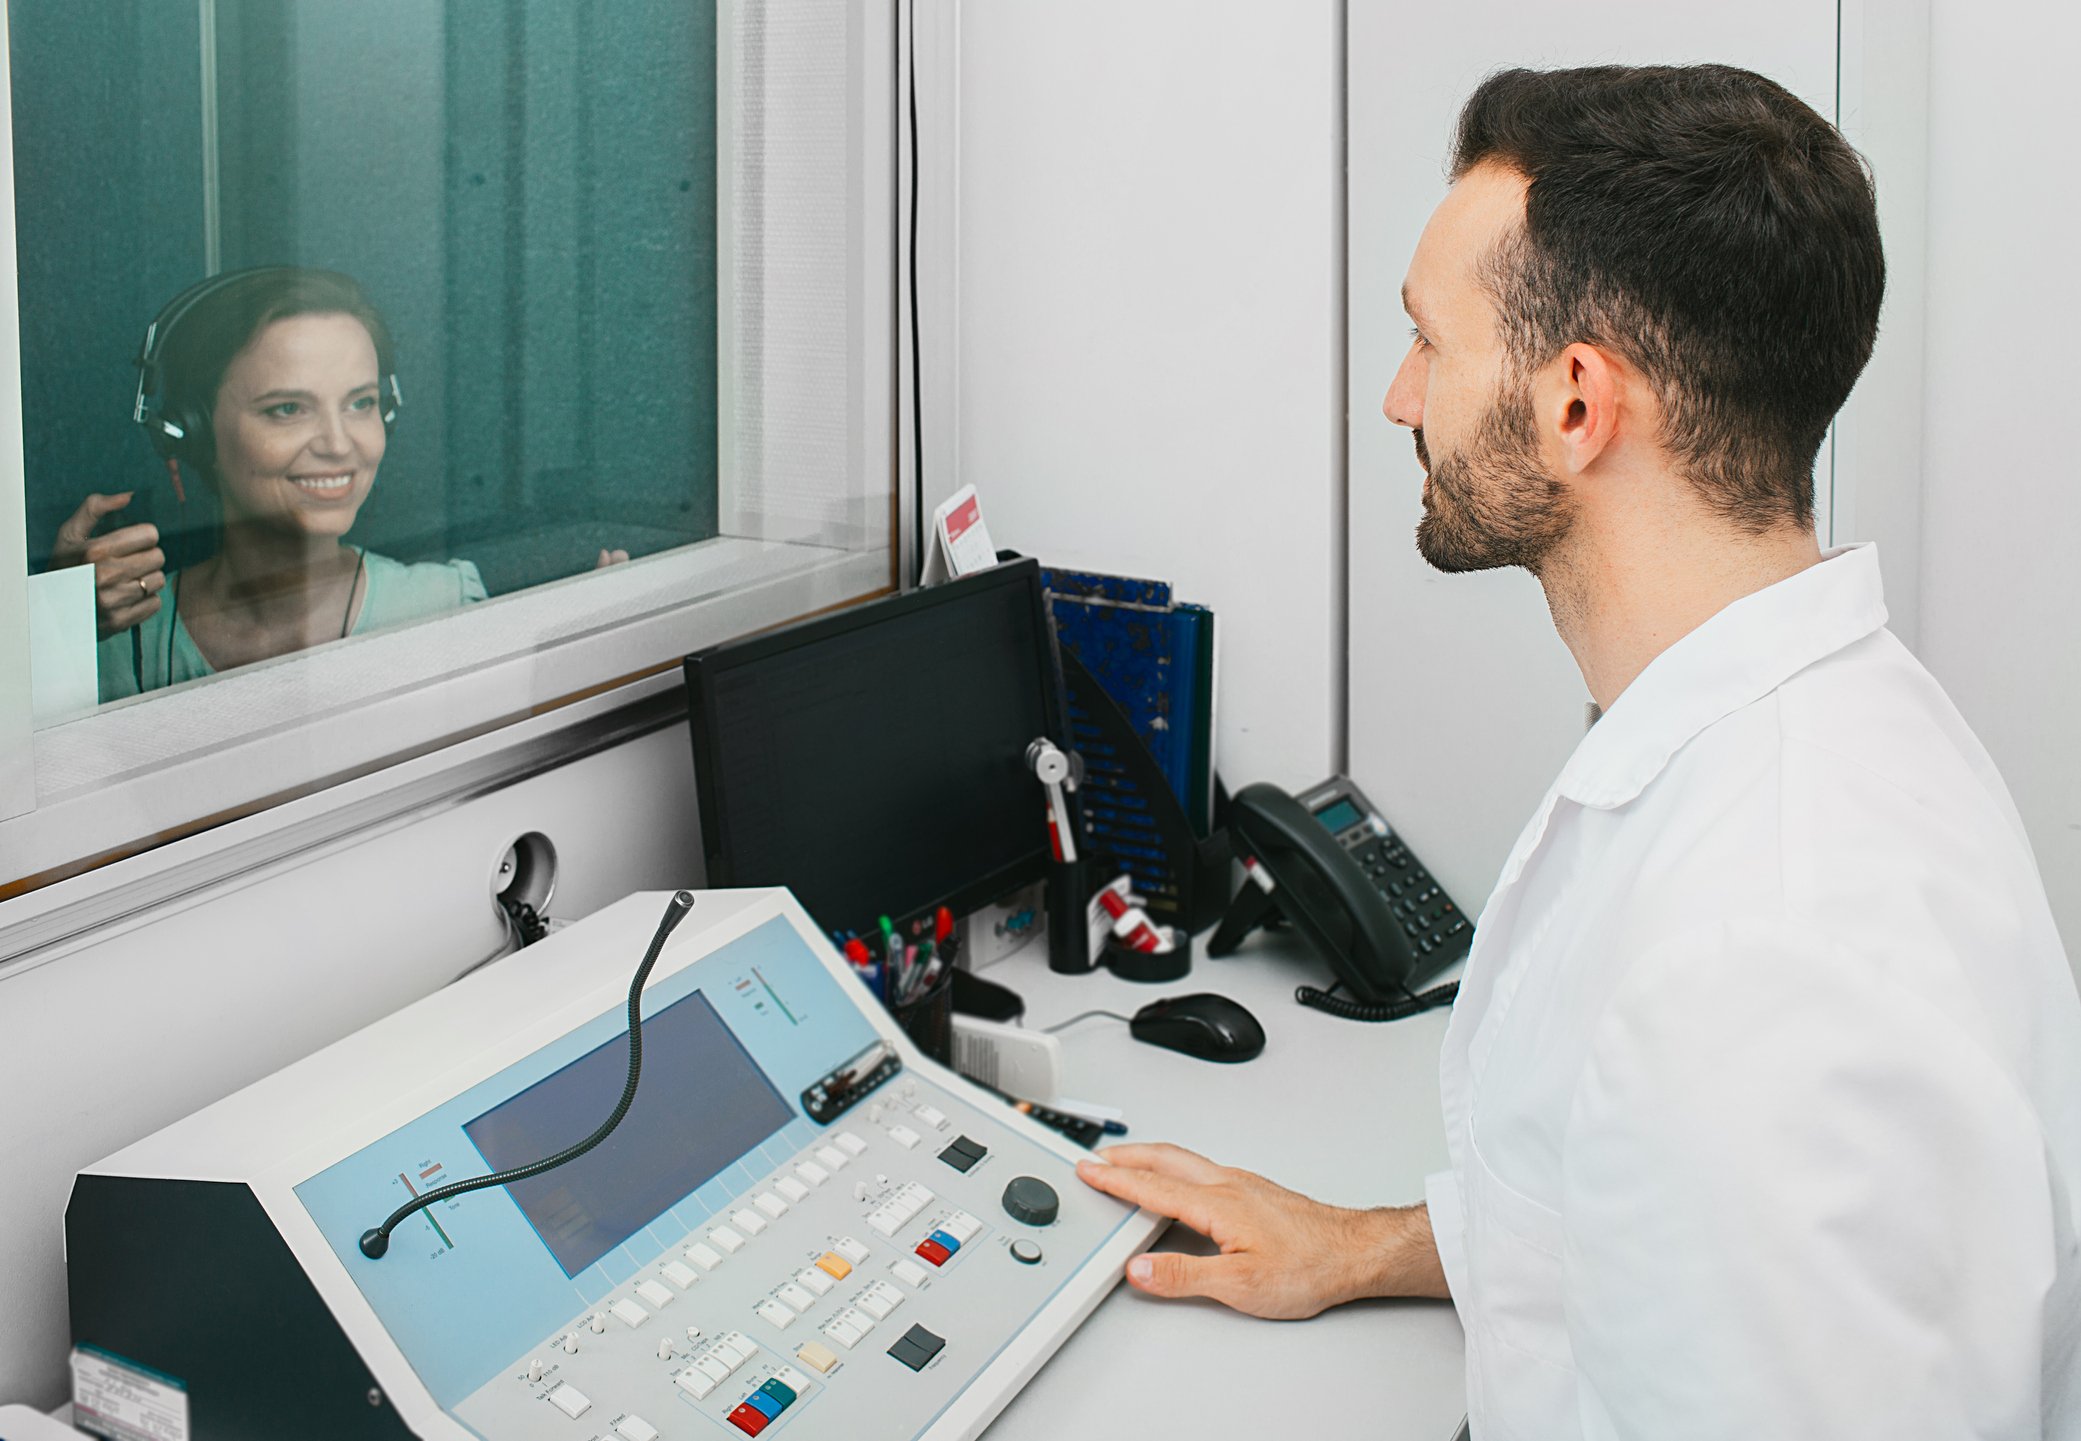
Figure 1: To capture both the patient and the student separated by a wall with one-way glass, you will need a camera and microphone inside and outside the booth.
Consider if you want to coach or provide feedback to the student during a hearing test. It’s important to choose a method of feedback that doesn’t disrupt the session or create an audible distraction. Your audio/video system vendor may recommend a private talkback solution, such as a Bluetooth transmitter, which allows the instructor to communicate to a discreet earpiece worn by the student. Consider also if you would like this instruction captured as part of the recording, so your vendor can include an additional piece of audio equipment to seamlessly mix the audio from the audiology booth with the instructor’s feedback in the recording.
The activity you want to capture also helps determine workflow and any accessories needed to support the workflow. Who will start and stop the recording? When will the recording start and stop? For instance, do you want to capture the student setting up the hearing test in addition to the test itself? If an observer is unavailable to initiate the recording via the software, the student clinician may need a physical accessory, such a start/stop button to be able to initiate and end recording on their own.
What is my audiology testing space made of?
If you don’t have floor plans, or don’t know drop ceilings from hard ceilings, don’t worry! Just send photos of the inside and outside of the audiology booth and/or observation room to your audio/video system vendor to review. They should be able to use your photos to make equipment and installation recommendations pre-sale to ensure a successful implementation.
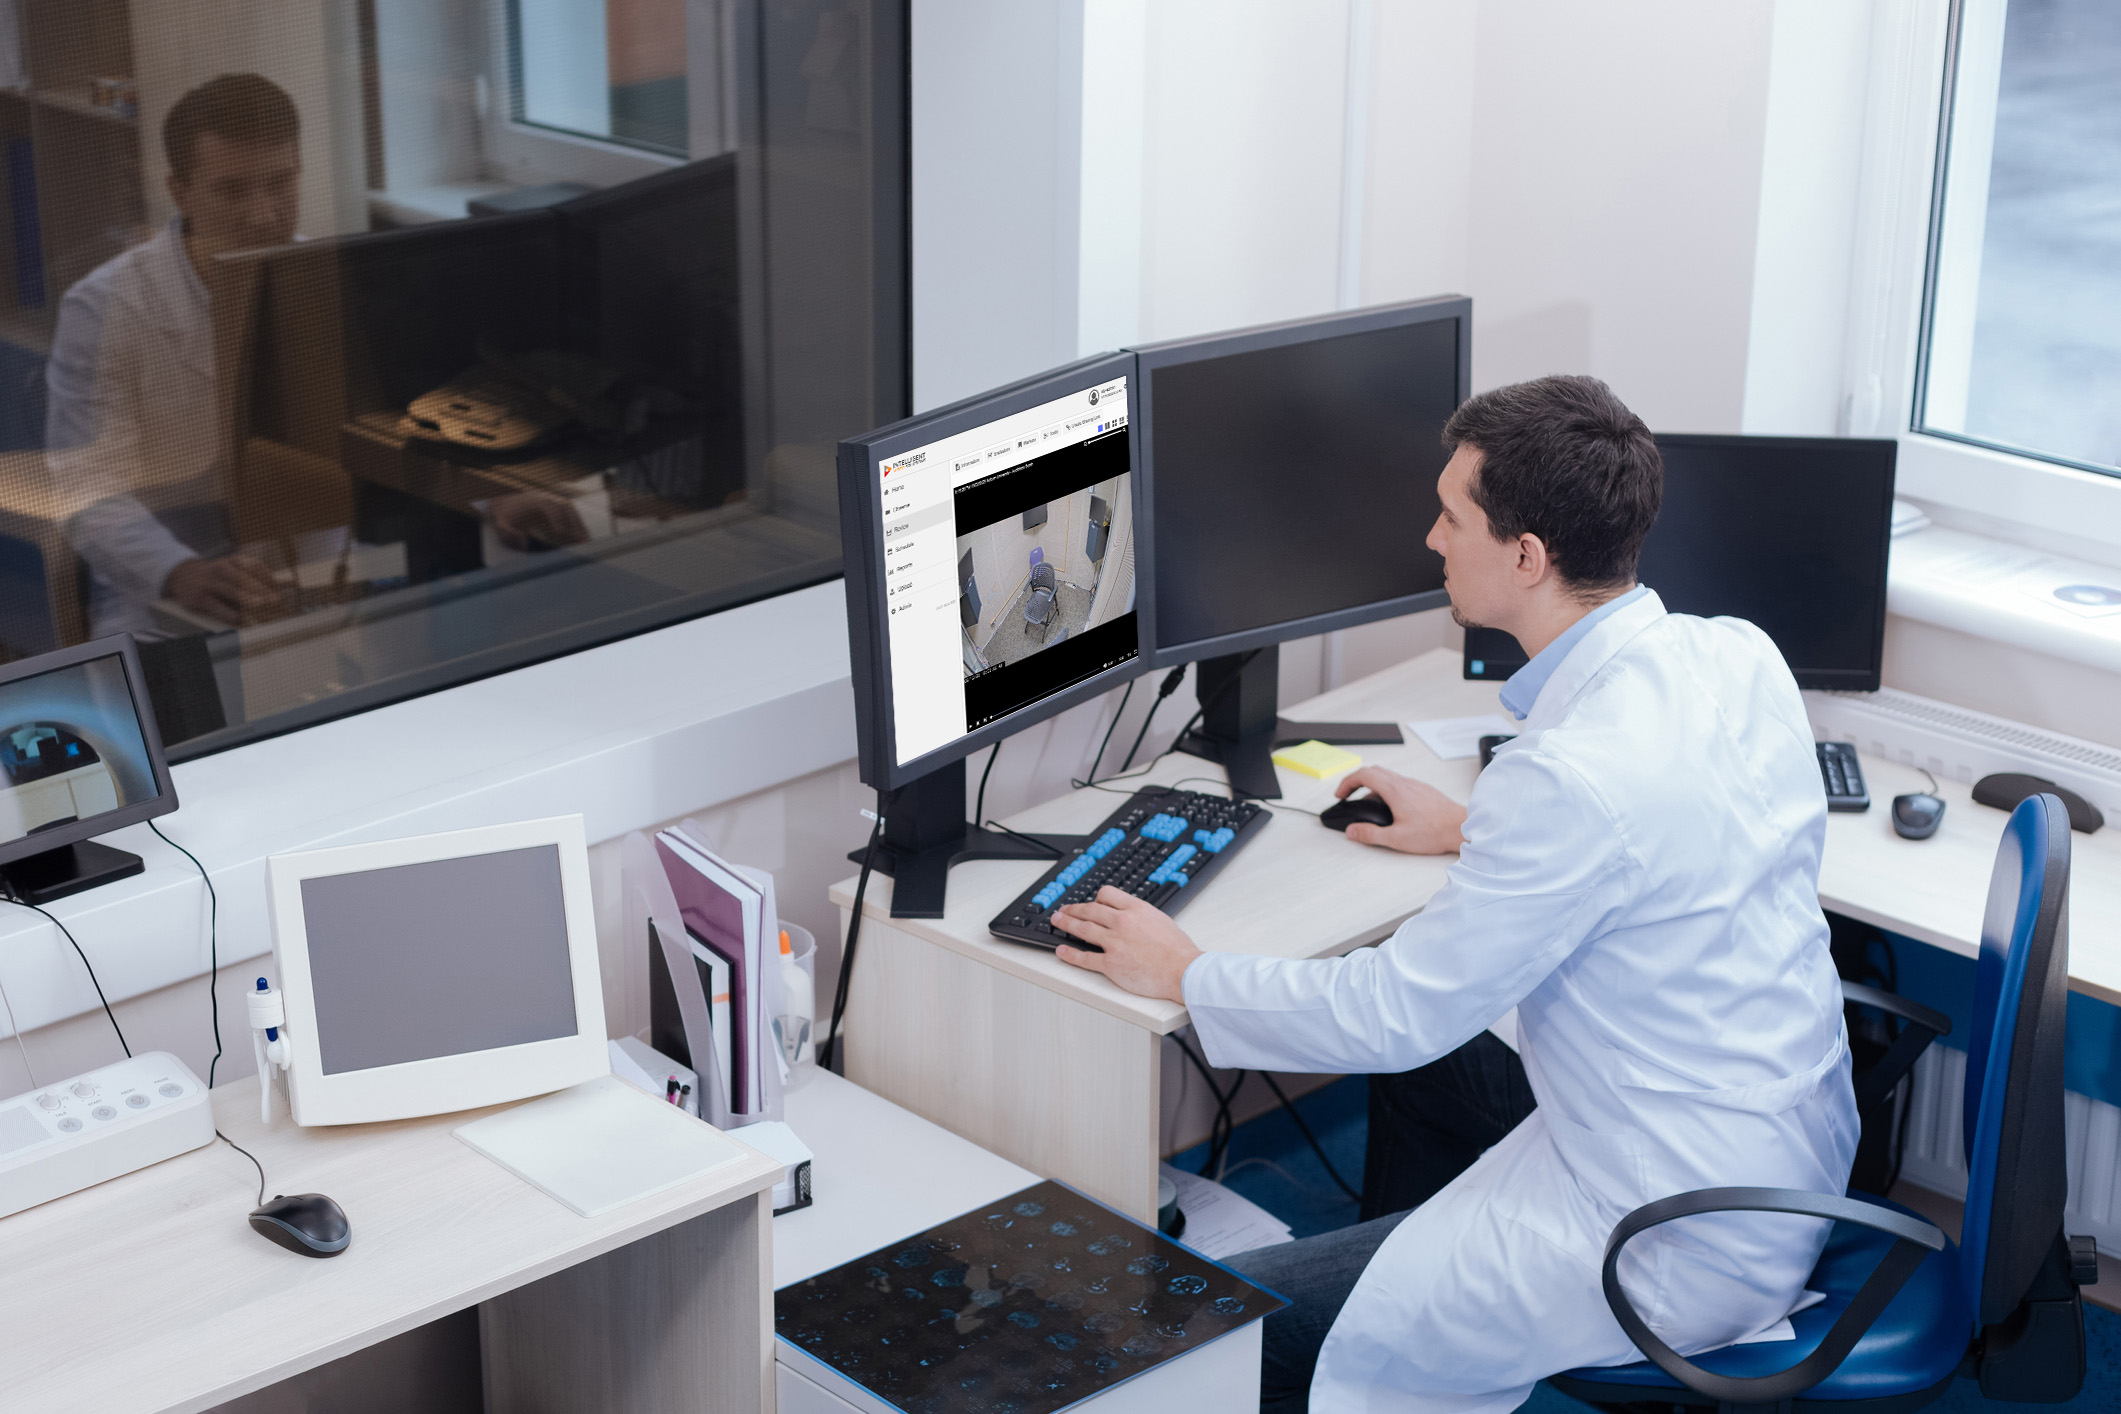
Figure 2: Send your audio/video vendor photos of the inside and outside of your audiology booth or room to get their recommendation on equipment and installation best practices.
In addition to best practices, your vendor can use photos to identify and address potential installation challenges. For example, if your audiology booth box is made of metal and sound proofing material and you want to capture activity inside the box, a technician will have to cut a hole in the box to install the camera and microphone. You may need to contact the booth’s manufacturer to confirm terms and conditions of the warranty and decide how to proceed.
If cutting a hole in the box nullifies the warranty and you’re ok with it, just let your vendor know in writing. If you’re not ok with it, ask them about alternatives or reevaluate what activity you want to capture. Based on the photos you provided, they may be able to suggest a workaround that avoids cutting into the booth. For instance, if there is an existing electrical box inside the booth with conduit running to an accessible area outside the booth, it may be possible to mount a camera sensor and microphone to its surface. If the booth manufacturer is still designing the box, the manufacturer may also be able to build in the infrastructure to support camera and audio equipment.
Regardless of where your vendor installs cameras and microphones, in the end there should be no indication that an installation took place aside from new cameras and new microphones, so ask your vendor how they will keep the audiology testing space clean and safe.
What type of cameras and microphones do I need?
Based on the activity you want to capture, and the material make up of your audiology testing space, you and your audio/video system vendor can identify the best cameras and microphones for the job. Audiology booths are smaller spaces, so one camera and one microphone outside and/or inside the booth is typically sufficient coverage.
The type of camera, fixed or Pan-Tilt-Zoom, depends on your workflow and what you want to capture.
A fixed camera provides a wider Field of View than a Pan-Tilt-Zoom camera and is beneficial for observing and recording overall activity in the audiology room. Fixed cameras live up to their name and remain fixed in one position. A fixed camera is a reliable choice that provides a consistent perspective if you don’t have an active observer available during audiology sessions to position a Pan-Tilt-Zoom camera.
A Pan-Tilt-Zoom camera allows an observer to move the camera to track and focus on specific activity, such as to zoom in on the buttons a patient pushes when they hear certain sounds. A Pan-Tilt-Zoom camera is beneficial if someone is available to move the camera during live observation of the session. If you are considering a Pan-Tilt-Zoom camera, request a model that is magnet driven. Gear-driven models may produce an audible sound when they move, which may distract the patient and disrupt the testing session.
Microphones in audiology booths are often surface mounted on the wall or ceiling (may look like a hockey puck) to avoid having to cut a recessed hole in the box. Most omni-directional microphones capture audio 15-feet from the microphone in any direction.
Your vendor should recommend a microphone, fixed and/or Pan-Tilt-Zoom camera models, and mounts based on the activity you want to capture, your booth setup, and the materials it’s made of. For example, if you want to capture a seated person’s facial expression the vendor may recommend a fixed camera, in a covert mount, wall mounted in front of the chair where the person will sit. If instead you want to observe a student positioning a testing device, they may suggest mounting a Pan-Tilt-Zoom camera in a corner of the ceiling to be able to zoom in from an angle unobstructed by the standing student.
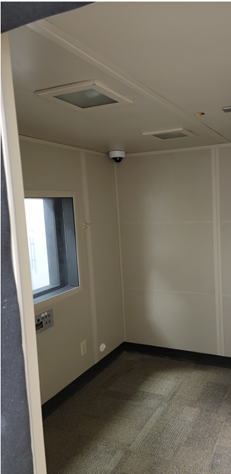
Figure 3: This audiology room has a fixed dome camera mounted in the corner of the ceiling to capture student activity.
You don’t need to be an audio/video expert, but it helps to know what questions to ask.
These three questions will help you start evaluating what equipment will work best in your audiology booths. Looking for questions to ask about video recording and observation software too? Check out this list of things to look for when researching audio/video systems.
Click the link below to find out how the right audio/video capture solution enhances healthcare training and higher education.